I really wanted to use my cake decorating skills, so I decided to make a cake for the Fourth of July. I asked Eric what kind of cake he would like and he said cherry chocolate. Not what I would have chosen, but whatever. I used this recipe for the cake: http://www.cooks.com/rec/doc/0,166,150184-239195,00.html.
Ingredients:
1 Package Chocolate Cake Mix
1 Can Cherry Pie Filling
2 Eggs
1/2 tsp. Almond Extract
Directions:
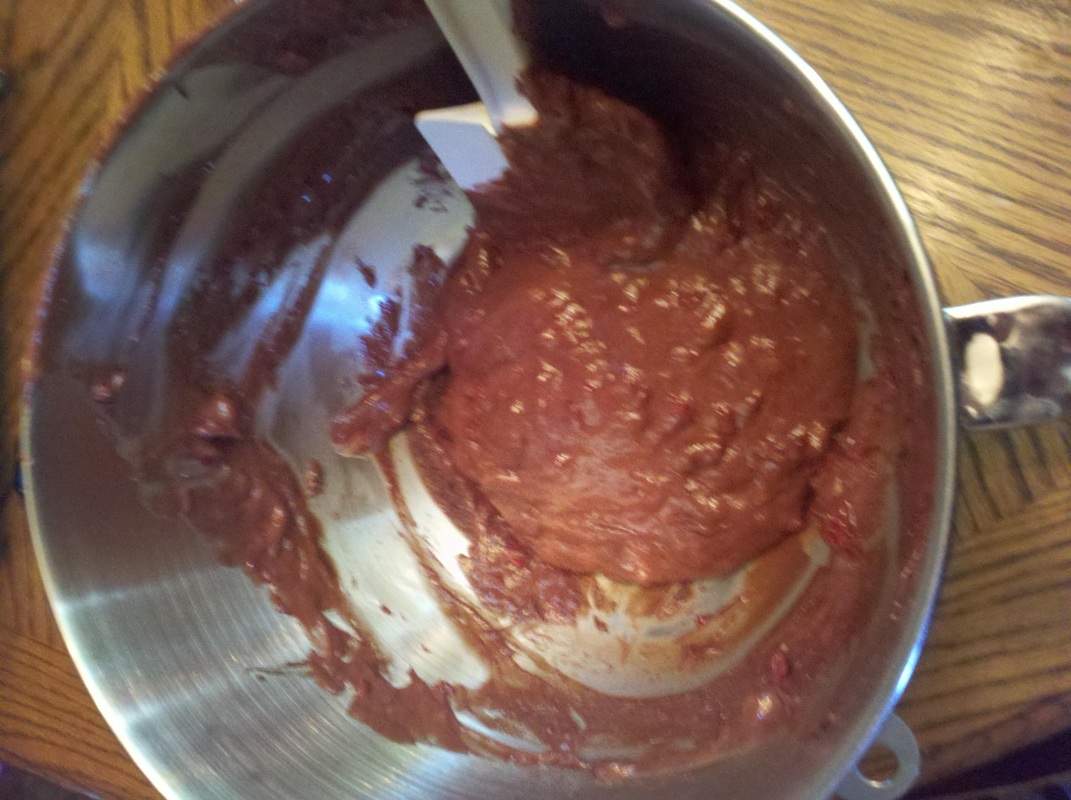
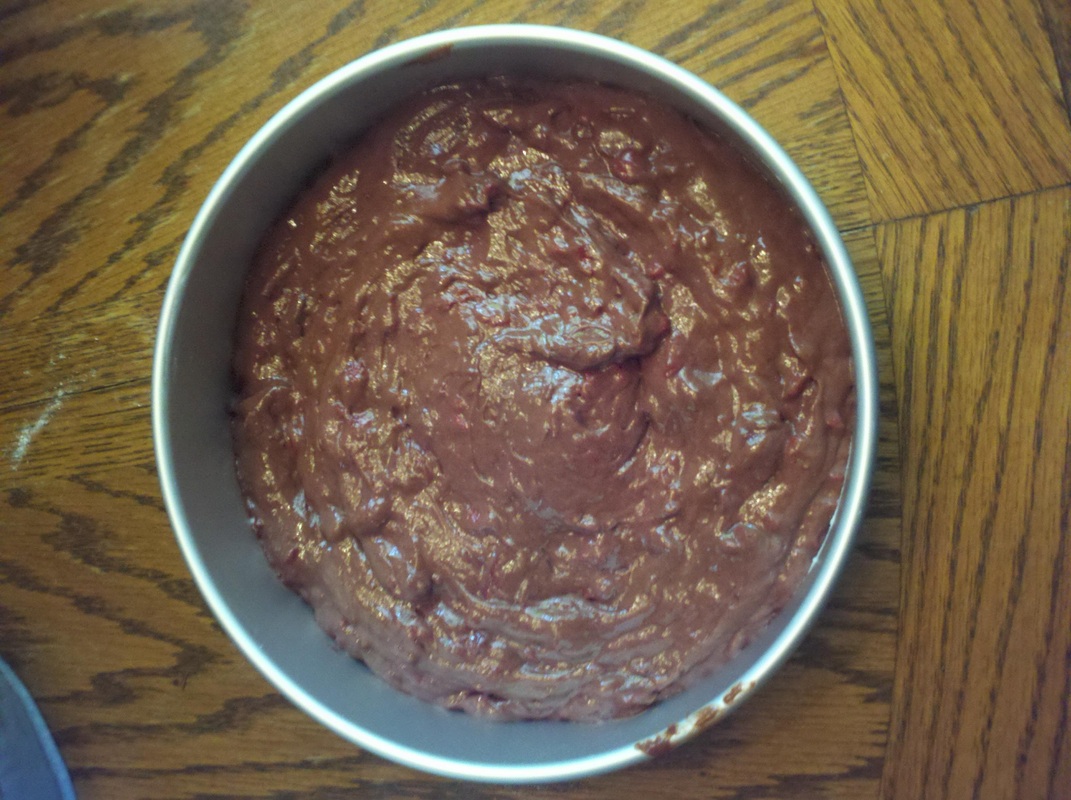
Mix ingredients well in a large bowl. Grease and flour the bottom (not the sides) of an eight inch cake pan. Pour batter into pan (should come up about halfway) and bake for 35 to 40 minutes.
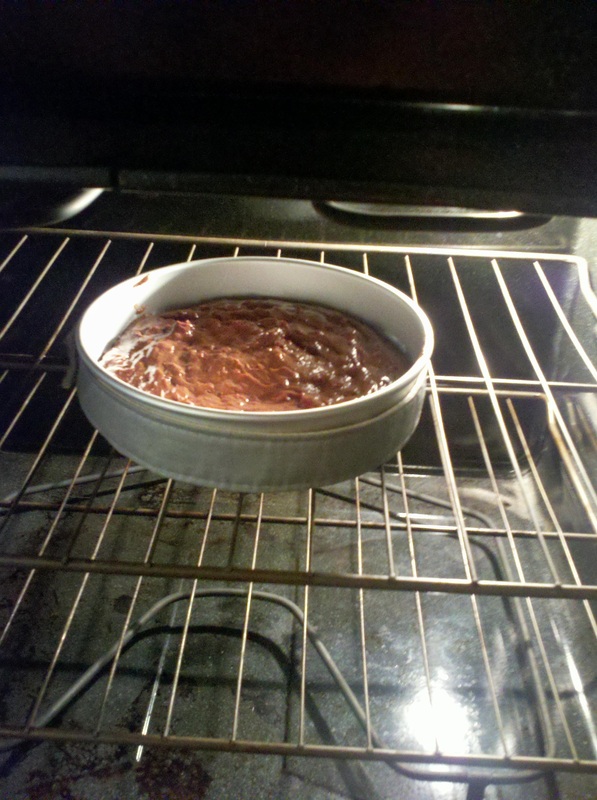
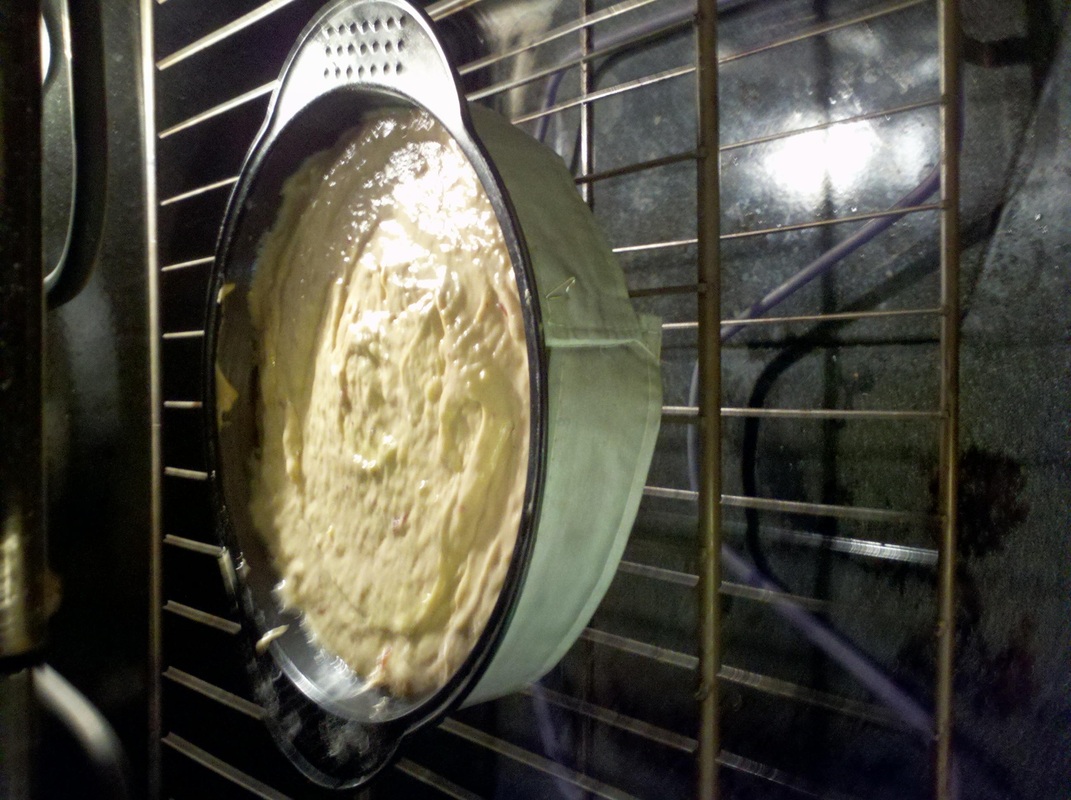
Of course, I used my fancy Wilton bake even strips. You just saturate them in water and wrap them around the outside of your cake pan. It really makes it so easy to get the cake out of the pan after baking.
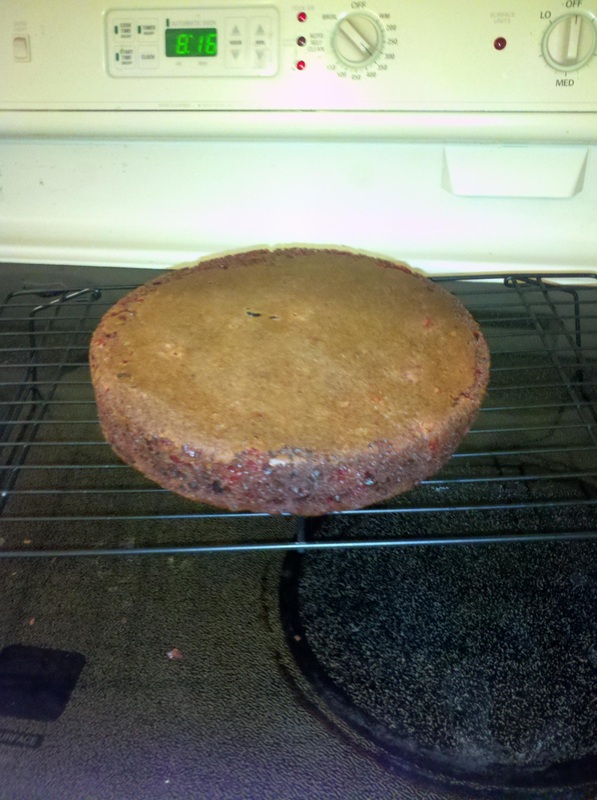
After it finished baking, I let it cool completely on a wire cooling rack.
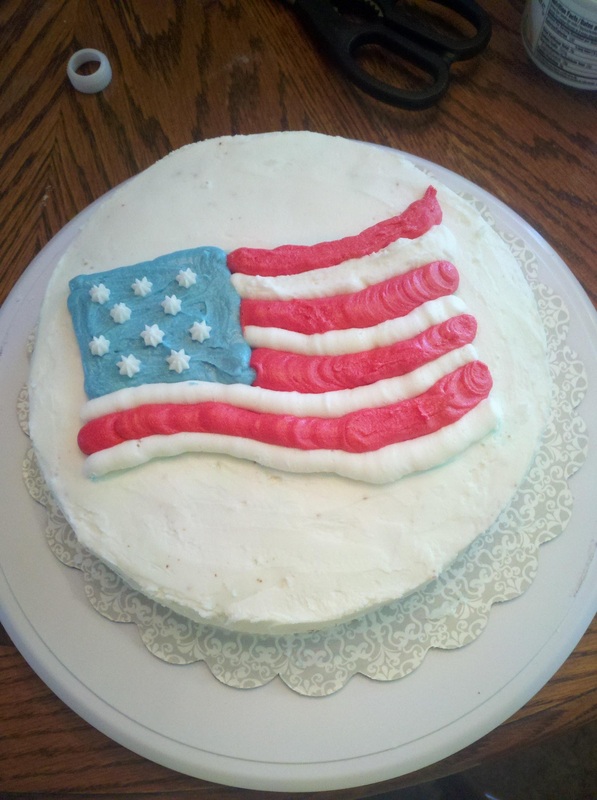
After it was completed cooled, I frosted it with white decorating frosting- 1 lb powered sugar, 1 cup shortening, 1 T meringue powder, and 7-8 T of water. I think my frosting was a little too stiff because I got a lot of crumbs stuck in it. To thin your frosting just add 1-2 more T of water. Next, I made my colors: blue and red. My decorating teacher told me to make red I should start with pink. I started with pink, but it still took almost half the container of red food coloring to make it red. I had printed an image of a flag onto regular paper. Then I used tinted piping gel to trace the image onto parchment paper. I then transferred the image onto my cake by laying the paper, piping gel side down, onto my cake. However, I wasn't really thinking and transferred the image backwards. I forgot about the whole mirror image thing. I was ready to just throw the cake out the window by this point, but Eric came and saved the day. He scraped the image off the cake and re-transferred it (correctly). Then, I used a Wilton size 12 tip to fill in my flag. I also used a star tip to make the stars.
My step-mother and I took a Wilton Cake Decorating class at JoAnn Fabrics. The first week we practiced making stars- nothing really too special. We really got into decorating in the second class. We needed to bring an 8 inch round cake to decorate. I couldn't just make a regular favor cake, so I made a strawberry banana cake. I had extra cake mix, so I made cupcakes as well.
Ingrediants:
1/2 cup softened butter
1/2 cup sugar
1/3 cup packed brown sugar
2 large ripe, mashed bananas
2 large eggs
1 teaspoon vanilla
2 1/4 cups flour
2 teaspoons baking powder
1/2 teaspoon baking soda
1/2 cup lowfat buttermilk
1/2 cup strawberry preserves
Directions:
Preheat oven to 350 degress fahrenheit
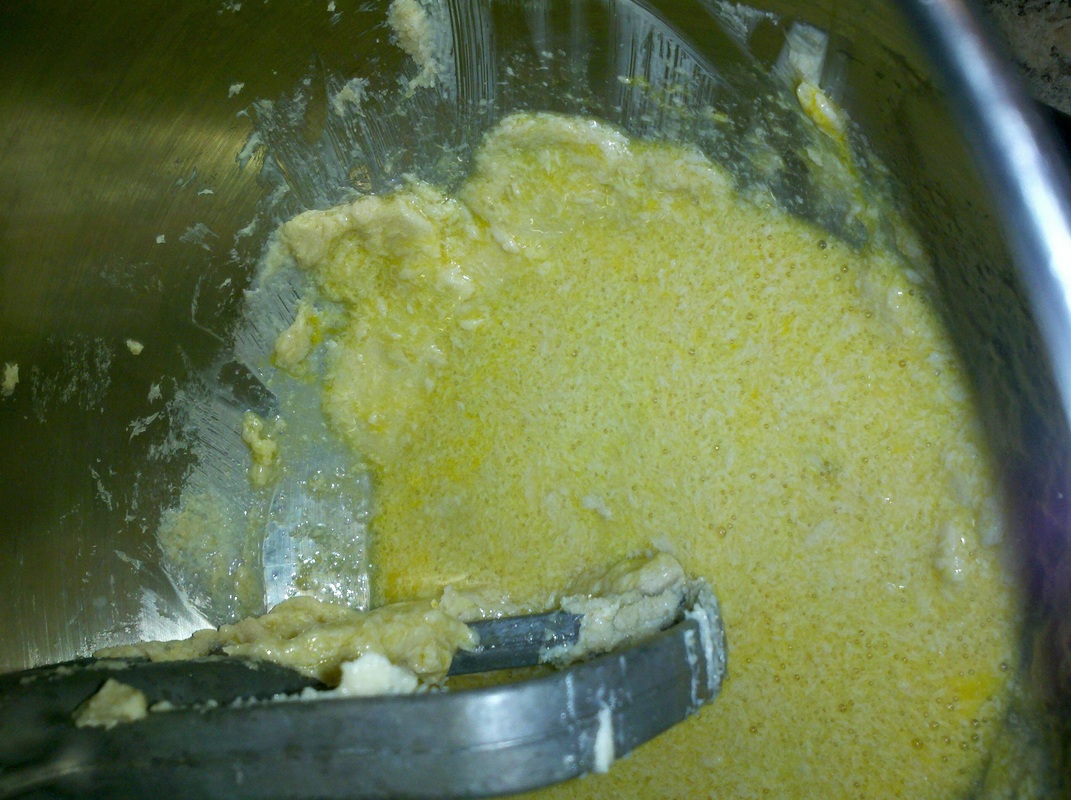
Beat sugar, brown sugar, and butter in a bowl until fluffy.
Beat in bannas, eggs, and vanilla.
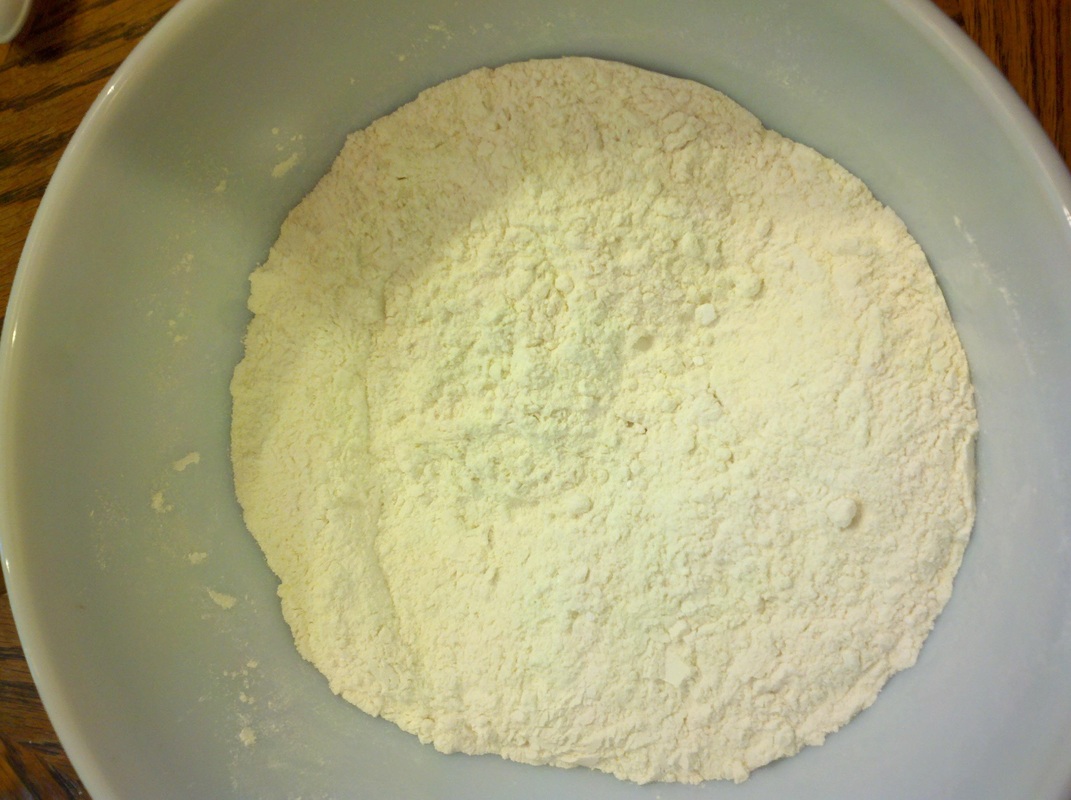
In a seperate bowl, combine flour, baking powder, baking soda, and a pinch of salt.
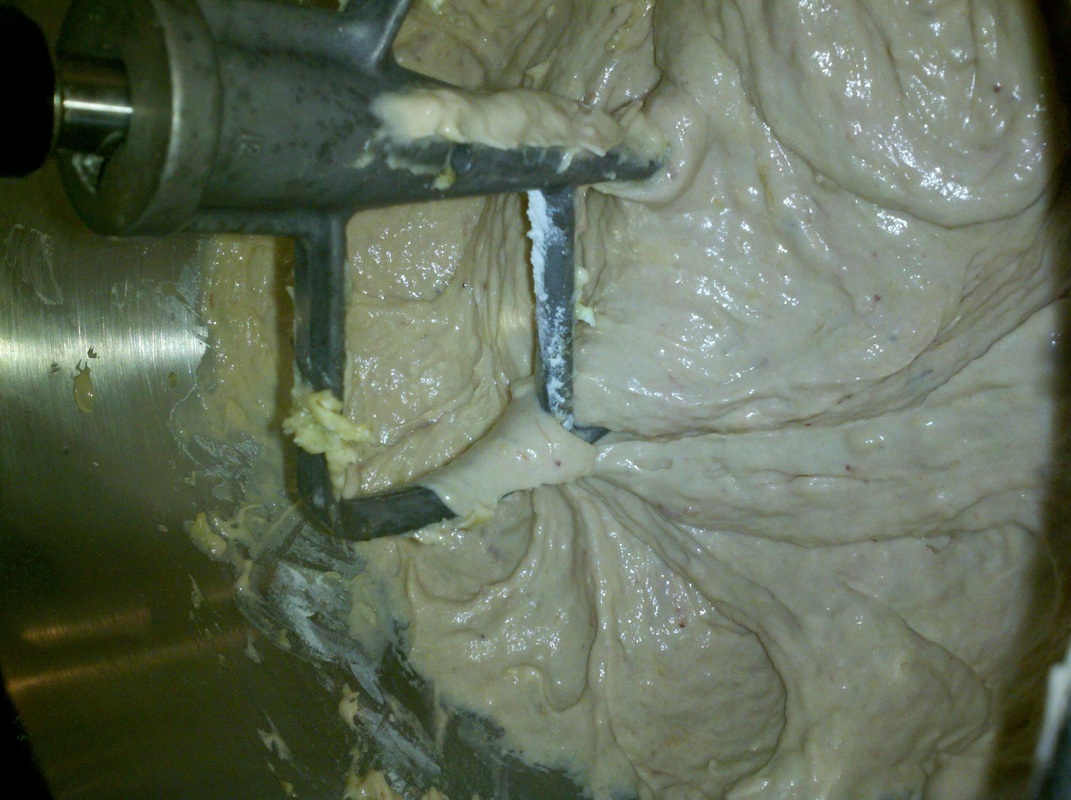
Alternate adding one third of the dry mixture and half of the buttermilk to the butter mixture. Then, stir in strawberry preserves.
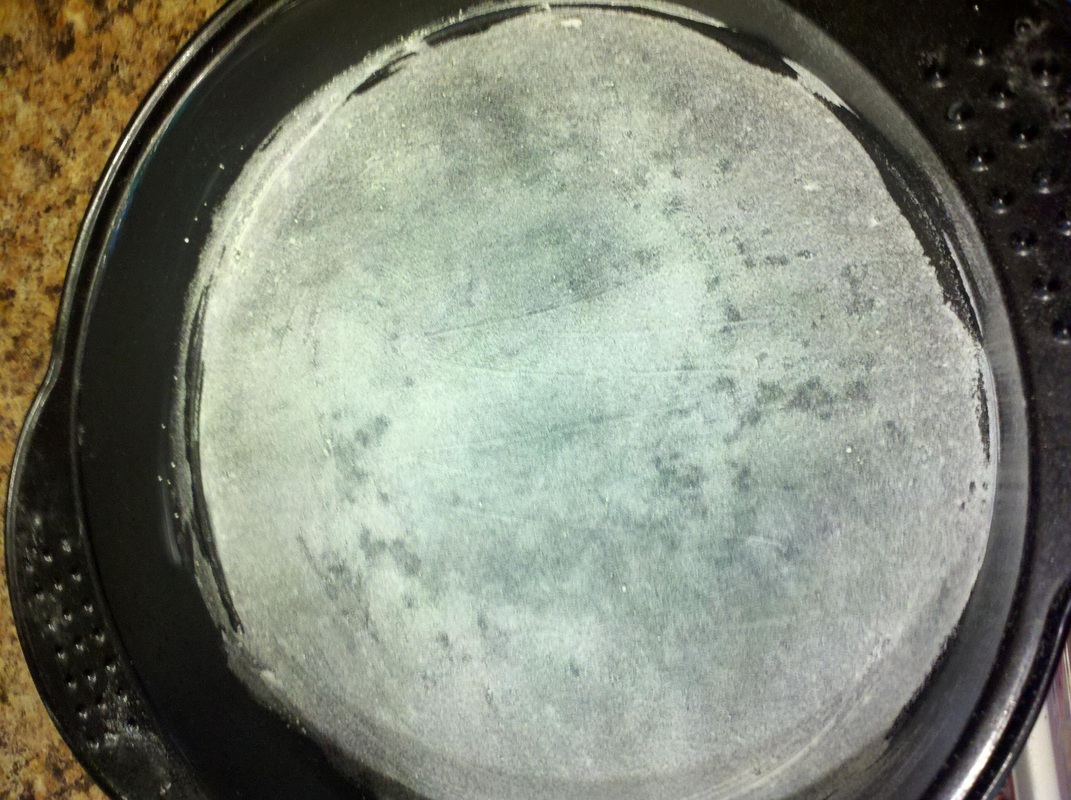
Prepare you cake pan by greasing the bottom of the pan with shortening and then coating it with flour. Only greasing and flouring the bottom of the pan will prevent your cake from having a hump in the middle. Also, I used Wilton Bake Even strips. You soak them in water and wrap them around the outside of your pan. I've never had a cake come out of a pan so easily.
Bake for 20 - 13 minutes or until you can stick a tooth pick in it and have it come out clean.
I was going to fill my cake with strwberry preserves, but forgot them, so I filled it with frosting. You could also fill it with banana pudding if you really like banana, but be aware that this cake already has a very strong banana flavor. We used buttercream frosting to decorate our cakes.
Here is my finished cake:
This cake is super moist and delicious. I used cream cheese frosting to decorate my cupcakes, because the cake itself is so sweet. I also garnished them with fresh strwberries that I cut and fanned. They gave the frosting a nice strawberry flavor. Here is what they looked like:
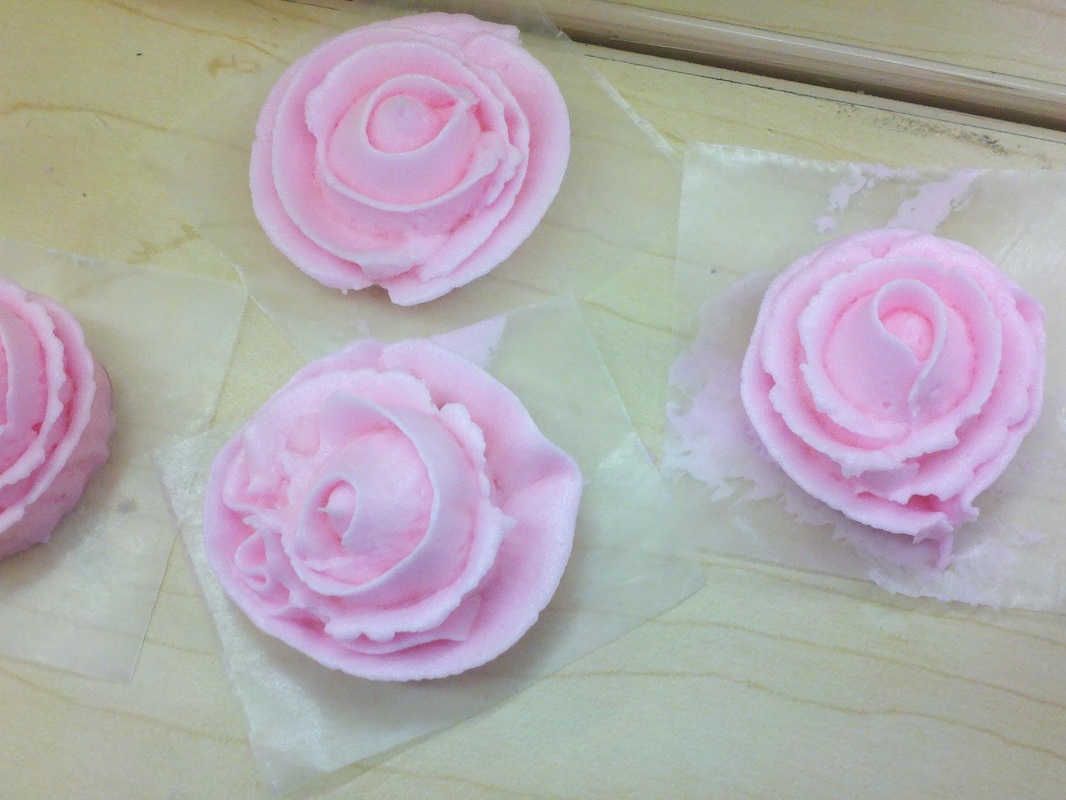
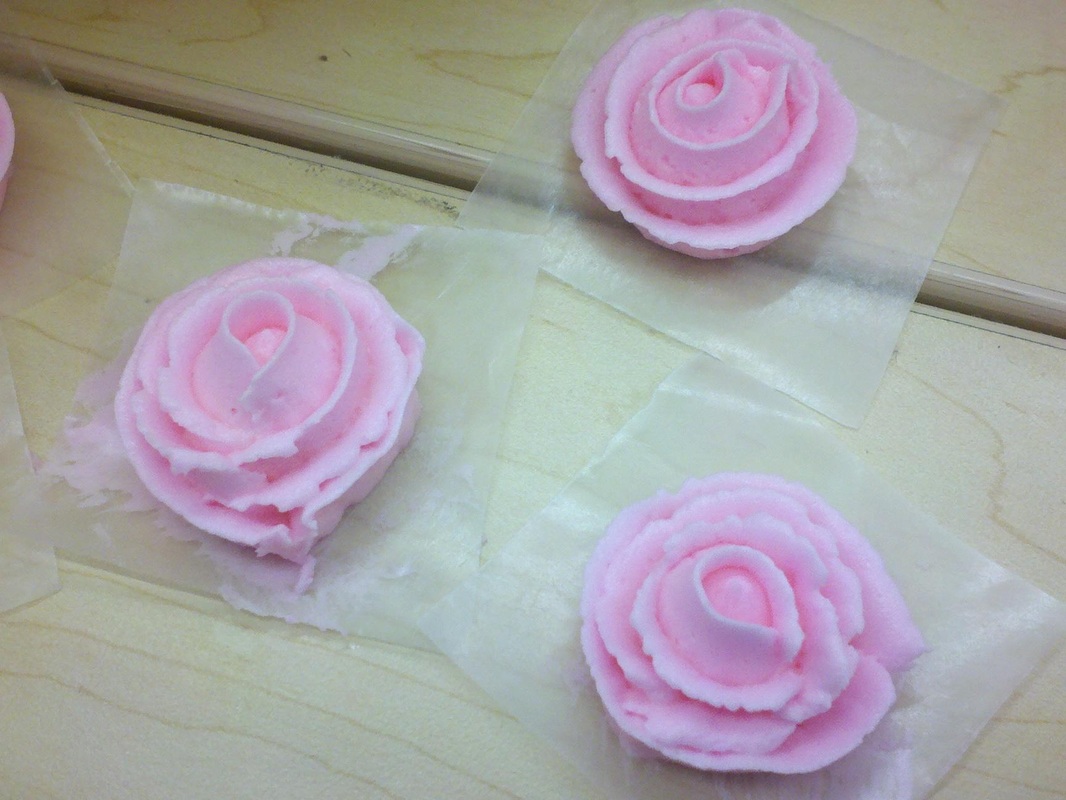
I really enjoyed the Wilton Decorating Basics class that I took with my step mother. I would really like to take the second class, which I think is flowers. We'll see how busy I am in the fall. However, in the fourth and final session of the basics class, we learned how to make ribbon roses (and I must say, I was pretty impressed with myself).
These are some roses that my step mom made. She of course had no trouble with them.
These are some that I made. I'm pretty talented, huh? ;0)
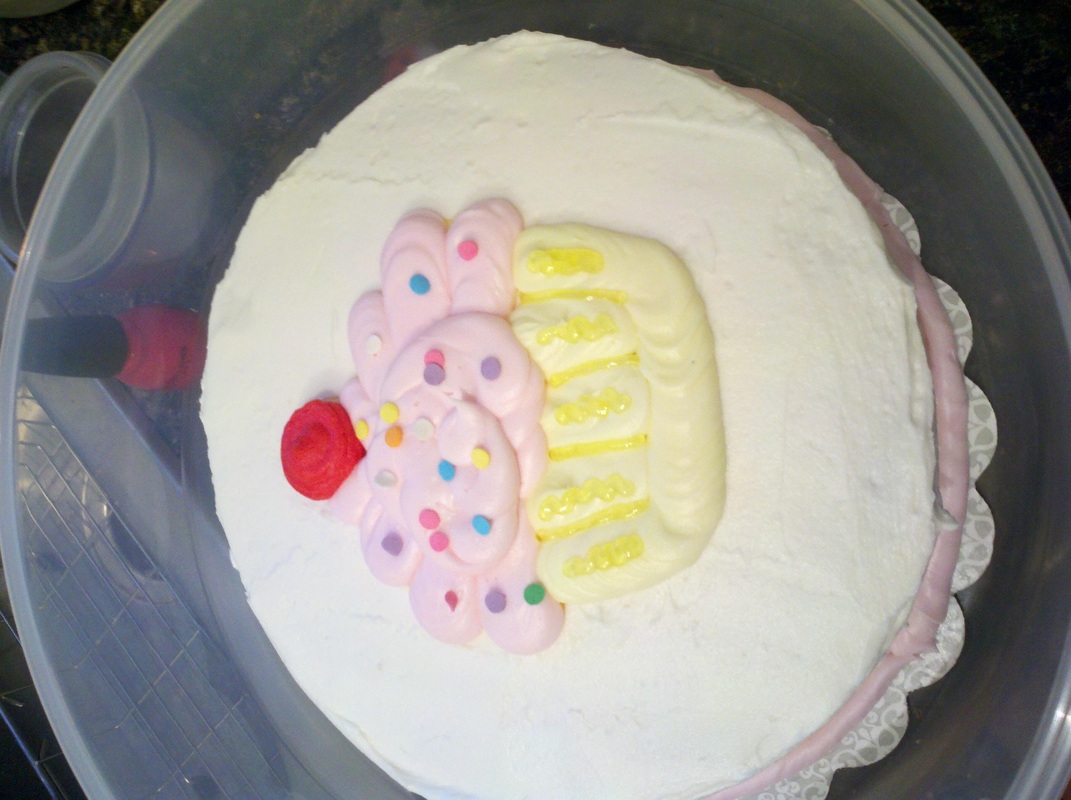
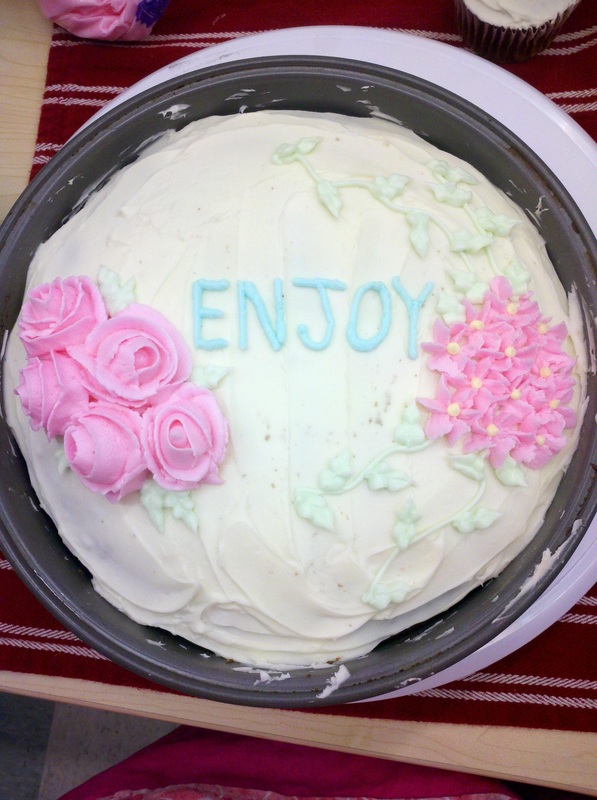
And this is a cake that I decorated. I was in a rush and couldn't get it out of the pan. I still think it looks good.
Eric loves peaches and I love cupcakes, so this was the perfect combination for us. These cupcakes are so moist and perfect for the warm weather.
2 2/3 cups all-purpose flour
2 1/2 teaspoons baking powder
1/2 teaspoon salt
3/4 cup low fat buttermilk
1/2 cup fresh peach puree
1 teaspoon vanilla extract
1 cup softened butter
2 cups granulated sugar
3 large eggs
6 oz pulverized dried peaches
Preheat oven to 350 degrees Fahrenheit.
Slice two to three fresh peaches and puree them in a blender.
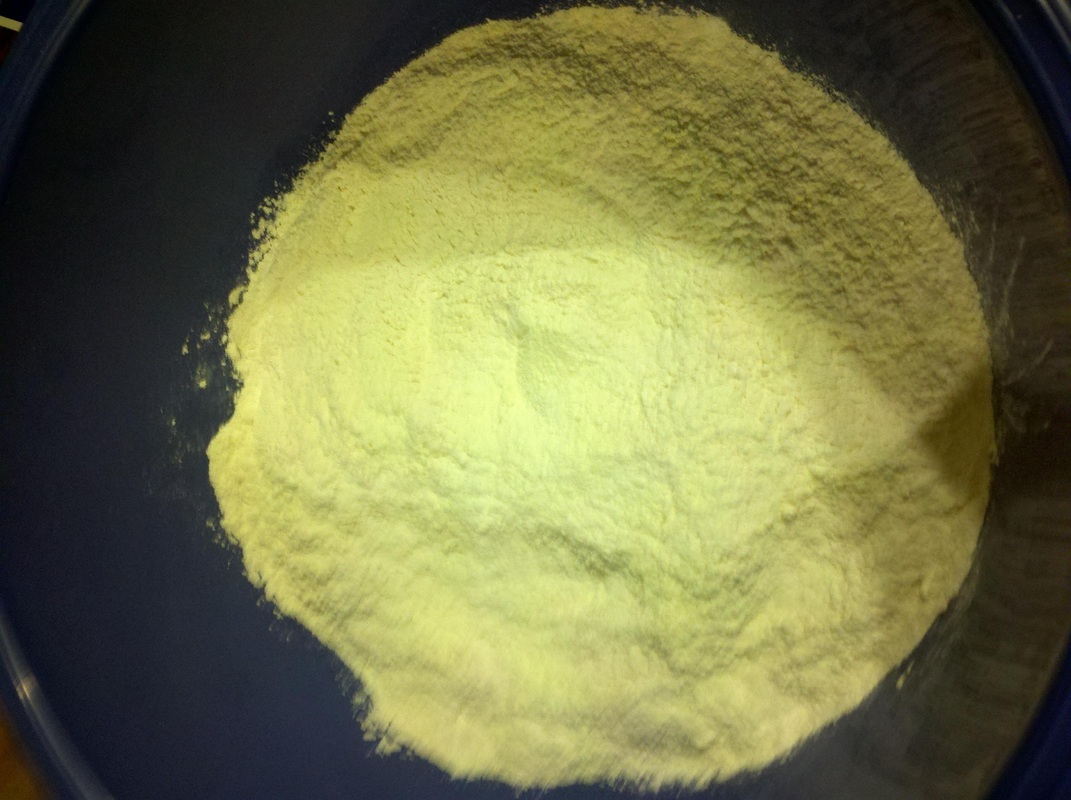
In a large mix bowl, mix together flour, baking powder, and salt. Set aside.
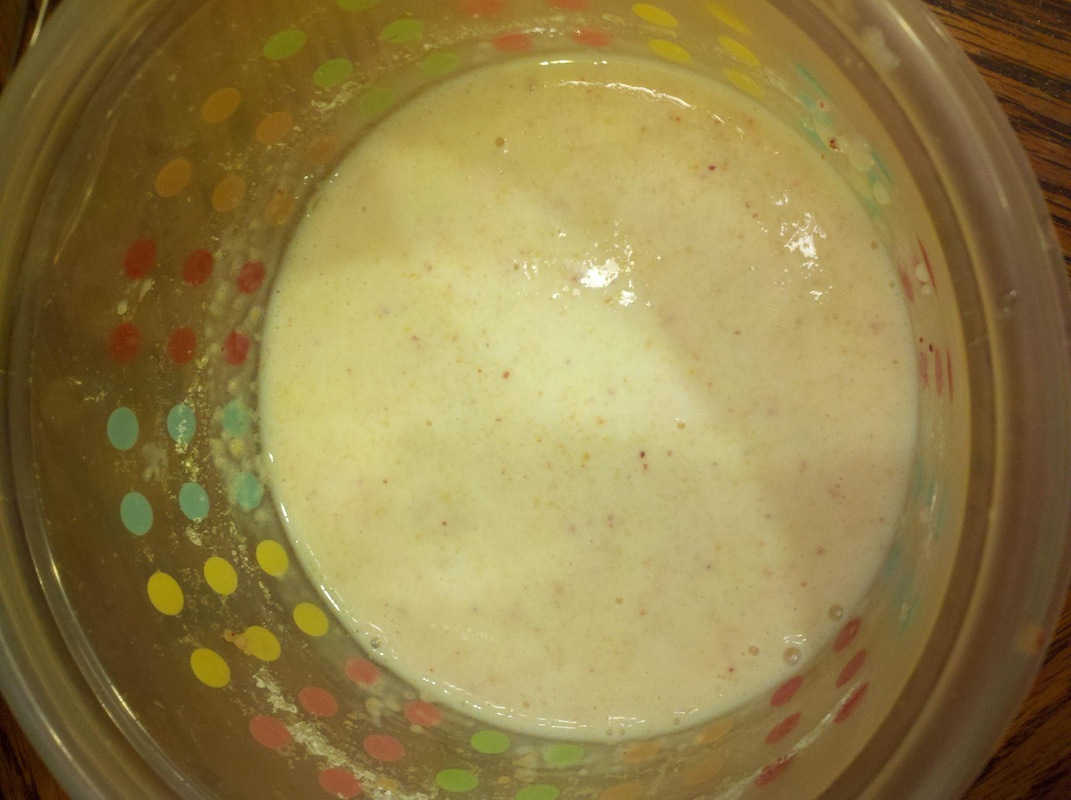
In another bowl, mix together buttermilk, peach puree, and vanilla extract. Set aside.
Using an electric mixture, beat butter and granulated sugar until pale (this should take about two minutes). Add the eggs one at a time; make sure to mix them well after each egg is added. Mix in pulverized peaches. Mix in a third of the flour mixture, then half of the wet mixture. Then mix the second third of the flour, then half of the wet mixture. Finally, mix in the last third of the flour mixture.
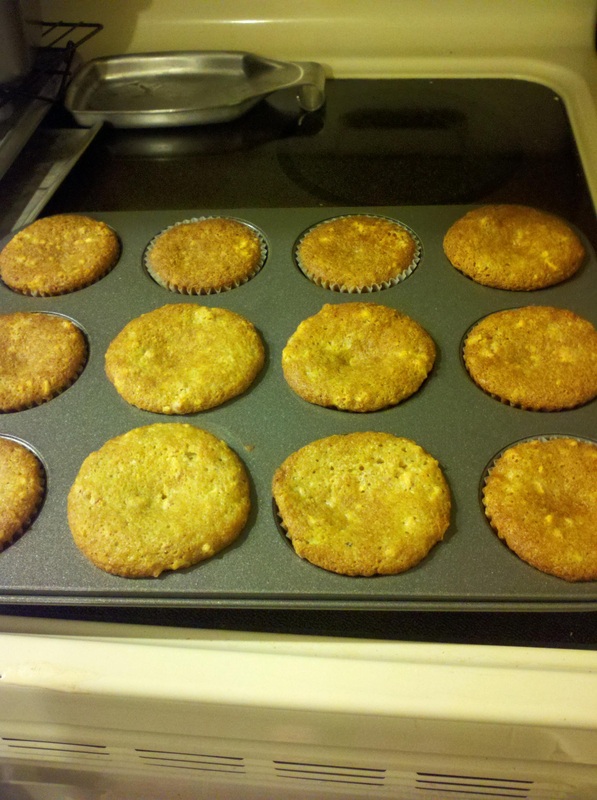
Line cupcake tin with liners. Fill cupcake tins 2/3 full with batter and bake until golden brown. Use a tooth pick to test the middle. Let cool for ten minutes before moving to a cooling rack.
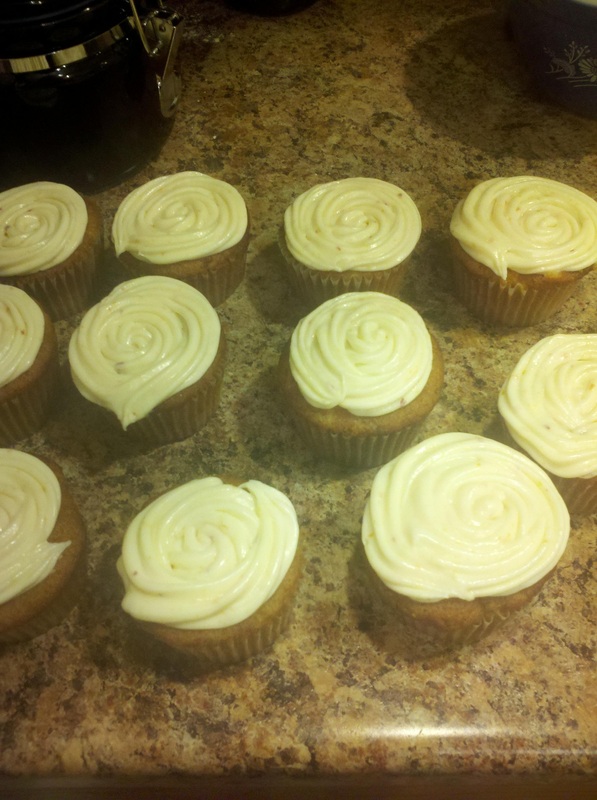
For a frosting I used cream cheese frosting and a little bit of peach puree and honey. I oringinally mixed in some pulverized peaches, but it was too chunky for me. Eric really liked it, but I hated it so I re-did it. Make sure you let your cupcakes cool completely before frosting.
Ta da!
I got engaged in February, but we wanted to wait until the Spring to have our engagement party. It isn't going to be very big; mostly family. Anywho, it is tomorrow.
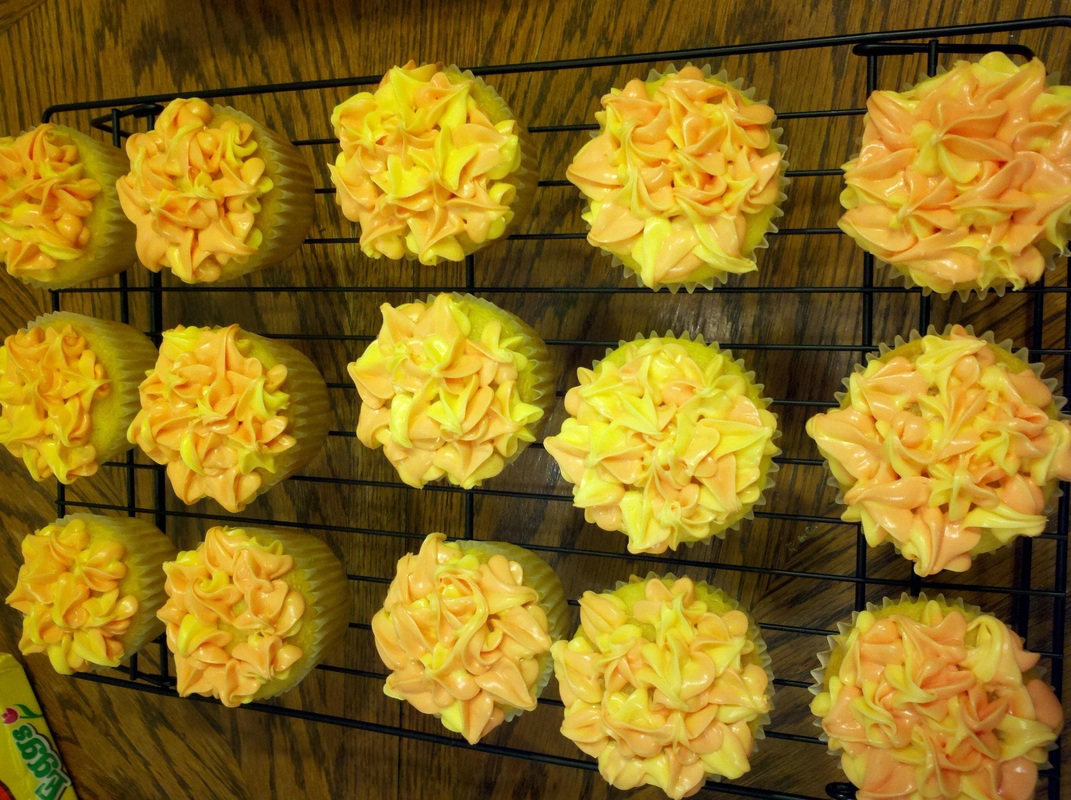
I am thinking about having hydrangeas in the centerpieces for the wedding, so I thought it would be fun to decorate the cupcakes for the party with hydrangeas. This was my first time trying it and I would say that it was a success!
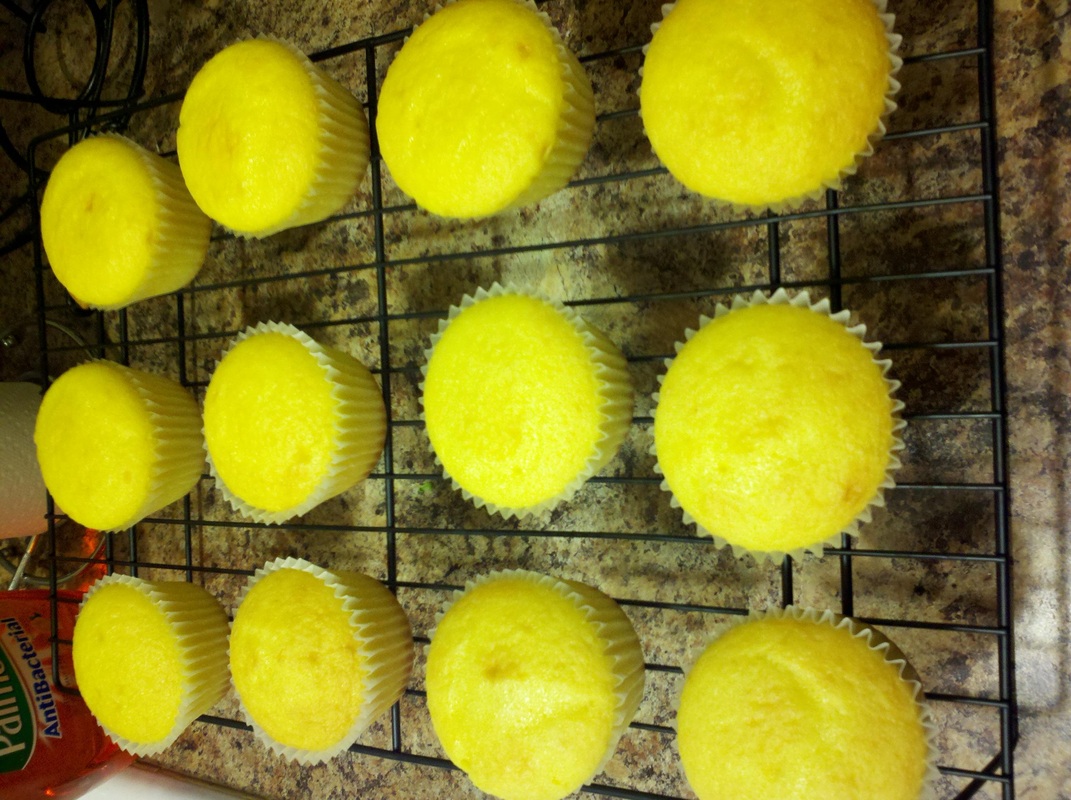
First, I made baked the cupcakes. I really like lemon, so I made lemon ones.
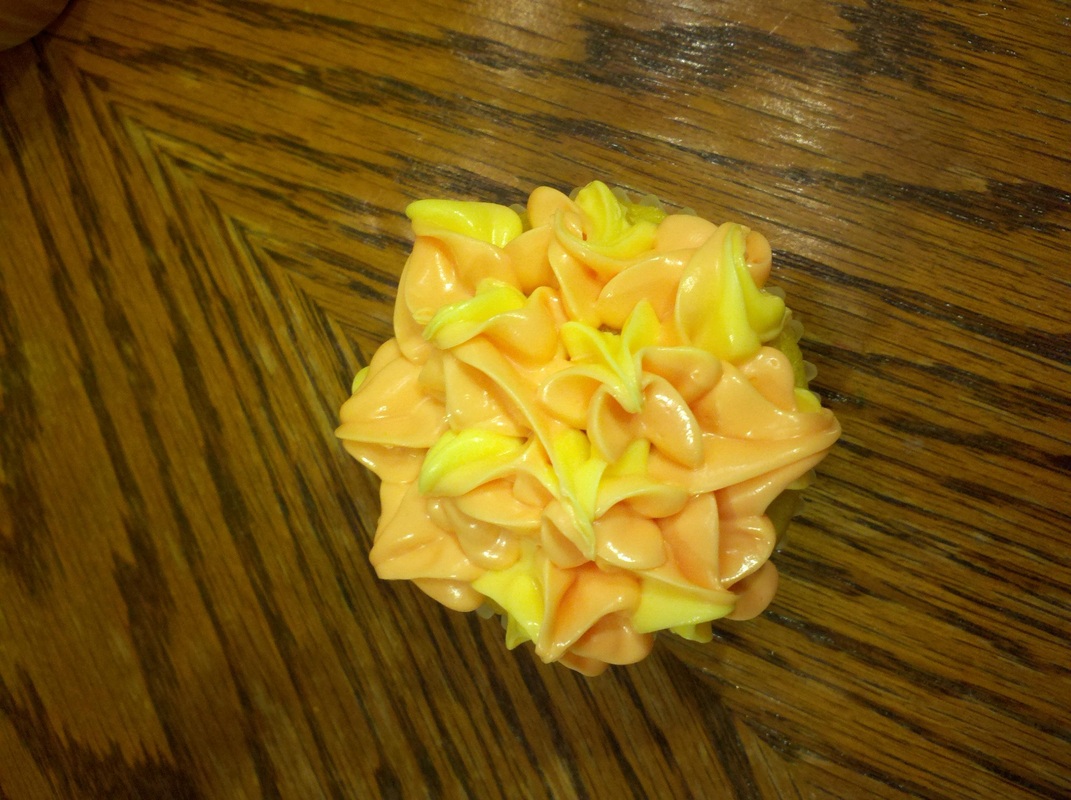
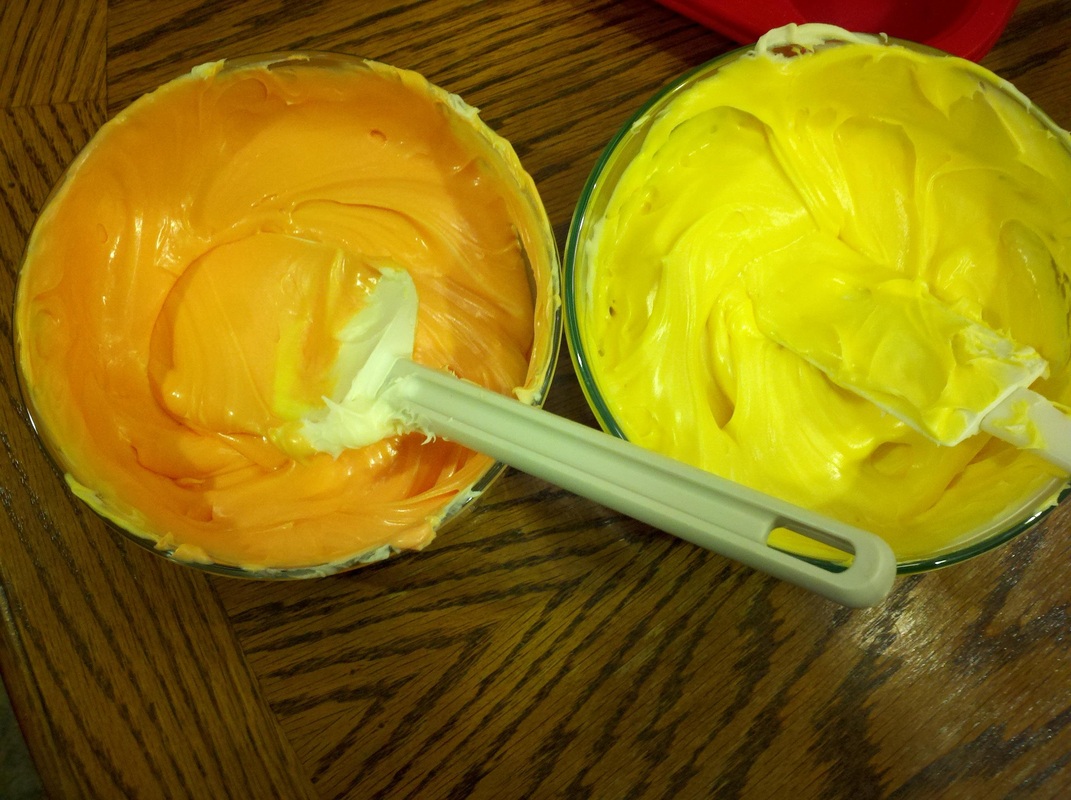
Our colors for the wedding are yellow with a little bit of orange, so of course I did yellow and orange frosting. I did not make my own frosting, but you could if you wanted to. I used one tub of frosting for each color. I added food coloring and mixed it until I achieved the perfect color. Make sure if you are mixing colors (like yellow and red to make orange) you add the lightest color first.
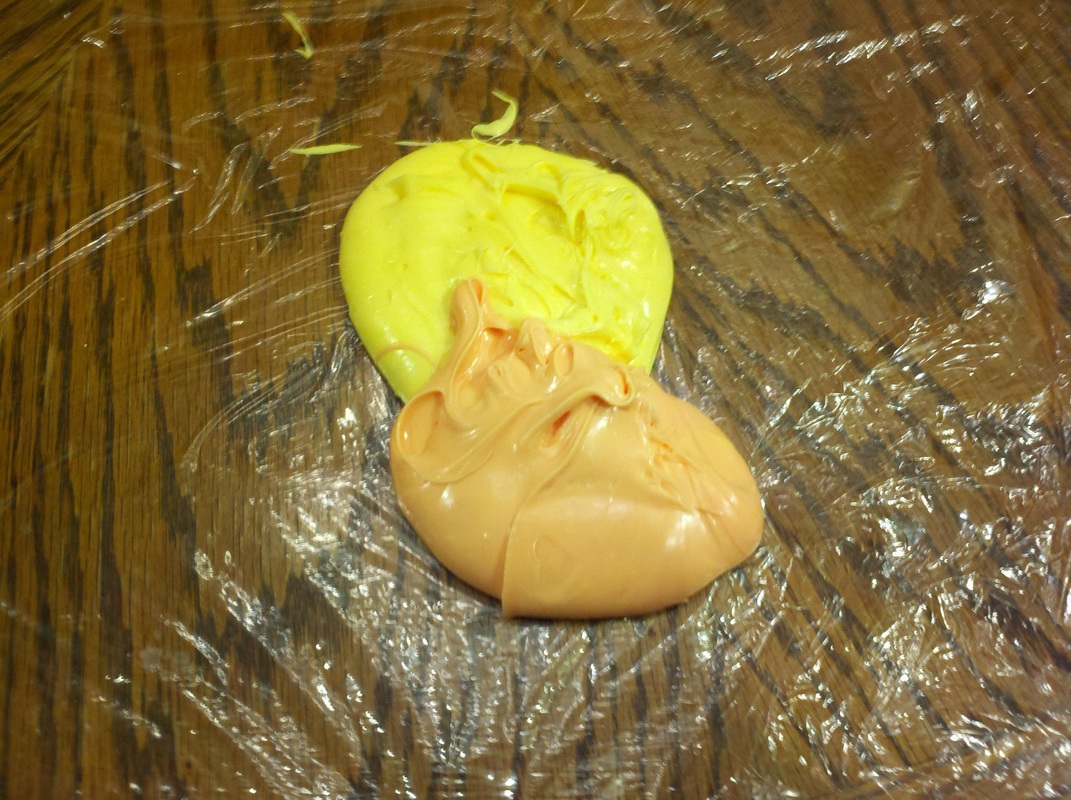
I saw this really cool trick for using frosting tips. You put your frosting onto a sheet of plastic wrap and roll it up. Then, you pick it up and fling it around, twisting the ends. Then, you clip one end and place it into your coupler. It makes clean up so much easier.
Plop both colors of your frosting next to each other on the plastic.
The tip I used is the Wilton 2D large closed star tip. You squeeze the frosting out a little bit then press down and let it squeeze out of the sides a little bit, then twist and lift up. It took me a couple tries to perfect my technique, but once I did they turned out really awesome looking!
I have the most amazing fiance. We have been together almost exactly a year now and I have never been so happy. I cannot wait to marry him. However, he seems to have a problem with his sneezes. He always sneezes into his hands. It is good that he is covering his mouth, but then his germs and spit are all over his hands. I keep telling him to sneeze into his elbow, but he doesn't. So finally I decided to use positive reinforcement to get him to sneeze into his elbow: I promised him one cookie for every time he sneezes into his elbow instead of his hand. So far he is up to 19. To reward him for his good progress I am baking him cookies. I found a recipe for oreo pudding cookies at http://www.the-girl-who-ate-everything.com/2011/05/oreo-pudding-cookies.html and tweeked it a little.
2 1/4 cups flour
1 tsp baking soda
1/4 tsp salt
3/4 cup brown sugar (packed)
1/4 cup white sugar
1 package (about 4 oz) chocolate instant pudding mix
2 eggs
1 cup butter
1 tsp vanilla
1 king size Hersey's Cookies and Cream candy bar
2 cups semi sweet chocolate chips
Preheat oven to 350 degrees F.
Whisk together flour, baking soda, and salt and set aside.
Cream together butter, brown sugar, and white sugar until fluffy.
Blend in pudding mix.
Add eggs and vanilla.
Add flour mixture.
Break candy bar up into small pieces (I broke each small rectangular piece into thirds).
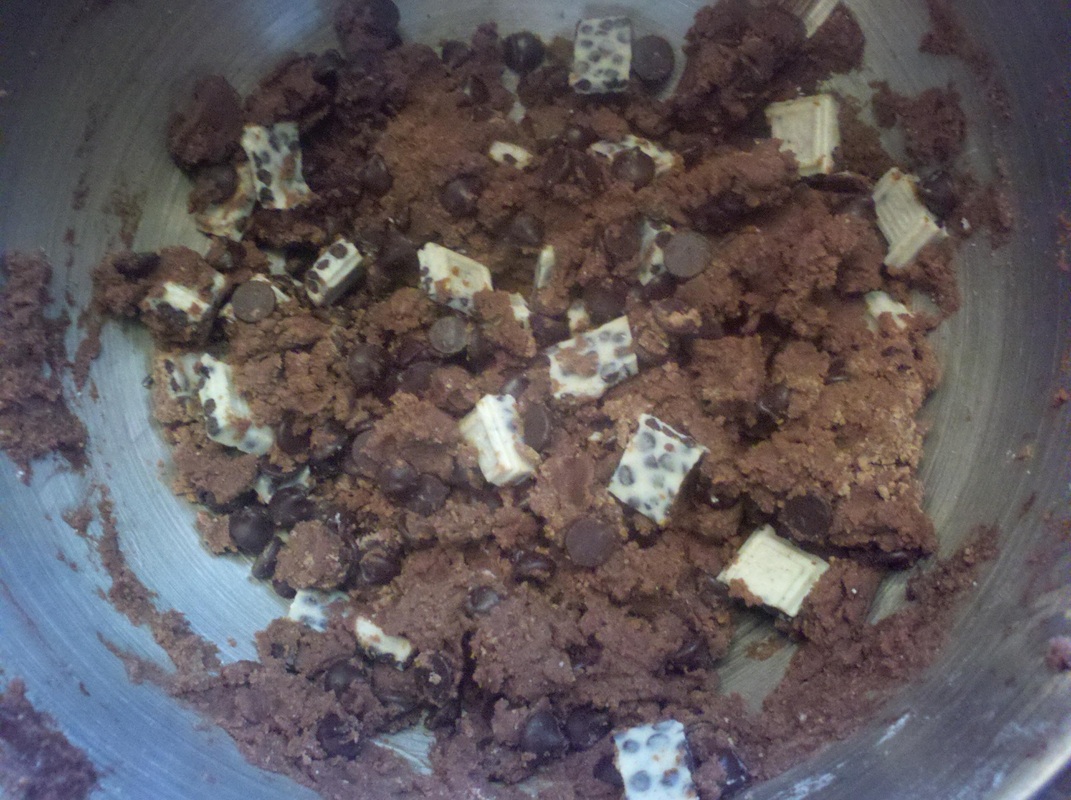
Fold in candy pieces and chocolate chips.
Dough will be very thick.
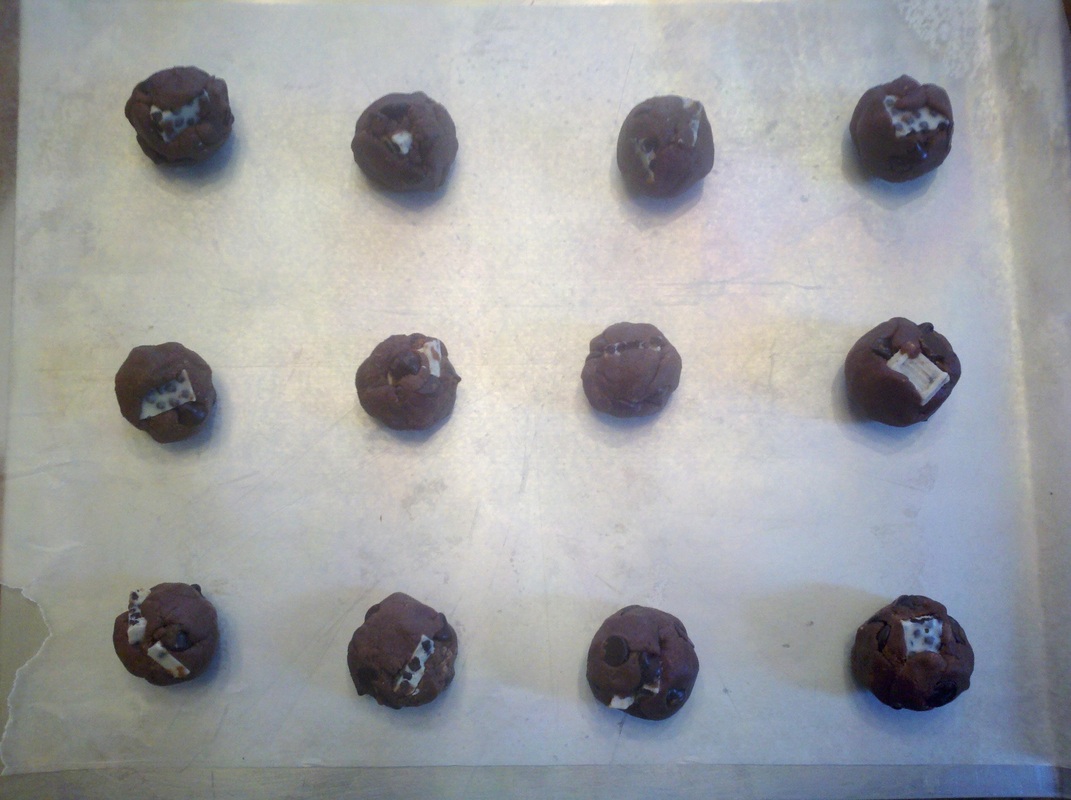
Place parchment paper on baking sheet.
Place dough balls onto parchment paper.
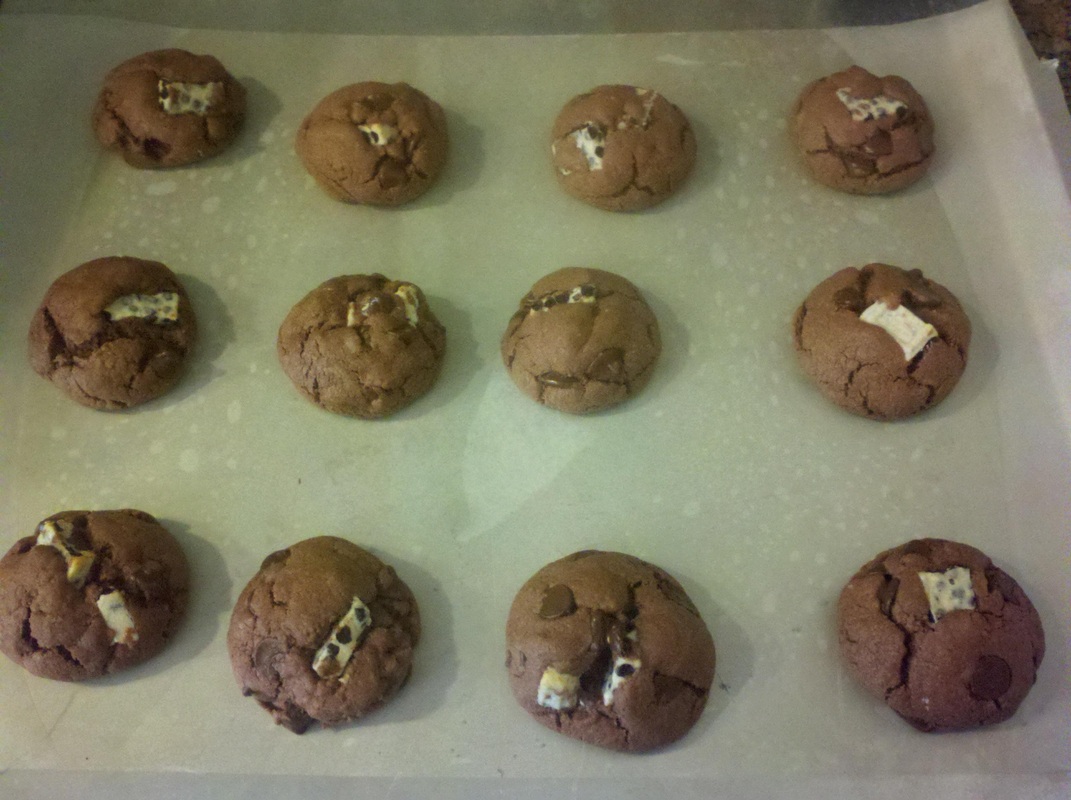
Bake for 10 minutes.
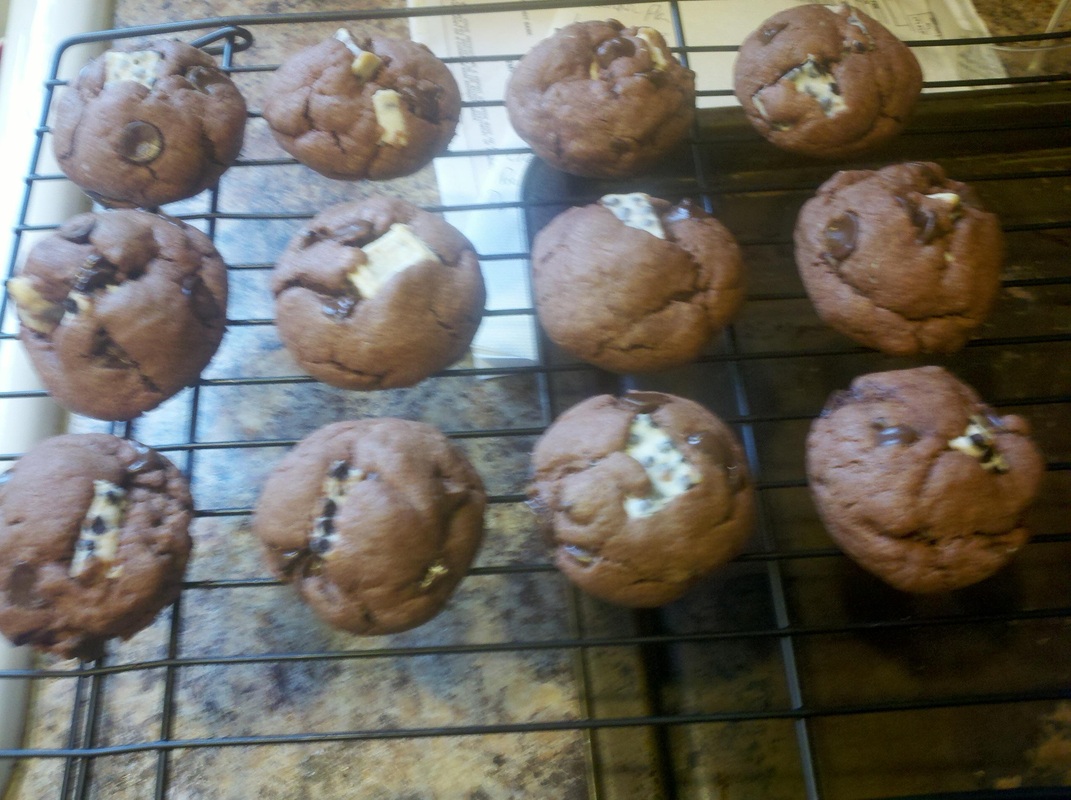
I tried to make sure I got at least one piece of candy in each cookie. These cookies are super ooy-gooy after you take them out of the oven, so it is a good idea to let themm cool a little on the parchment paper before you move them to a cooling rack. My spatula was covered in melted chocolate. Yum!
They are the most amazing cookies I have ever had (and I'm not just saying that because I made them)!
|

 RSS Feed